Applications
An application is a container for data, dashboards, workflows, and so on. Each application contains the following modules:
-
Data — Use this module to configure connections and design datasets.
-
Dashboards — Create and deploy interactive analytics dashboards.
-
Automation — Set triggers, then define conditions and actions to automate tasks within an application.
-
Pixel-Perfect Reports — Build highly customizable and detailed reports from your data and data visualizations.
Note: Pixel-Perfect Reports is available only in Qrvey Ultra.
-
Settings — Define the global settings for an application.
Data Flows in Qrvey
Connections and datasets work together to create Qrvey's data-driven experience.
- Create connections to external data sources (databases, cloud storage, and so on).
- Import the data from a connection to create and configure your datasets.
- Use datasets to create dashboards, Pixel-Perfect Reports, and other analytics.
- Embed these within your own application with Qrvey widgets.
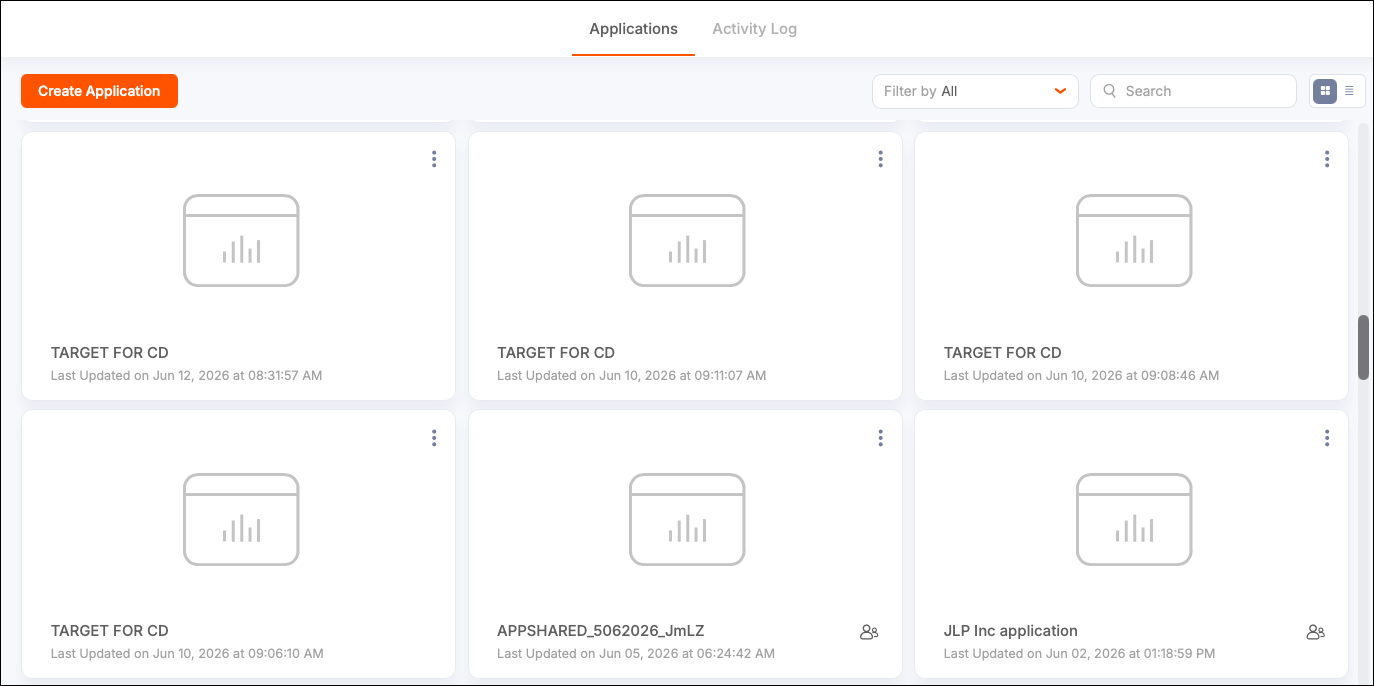
After logging in, users are directed to the Applications page, which serves as a home page and displays all available Qrvey applications. While navigating the app, a user can return to this page by selecting the home icon in the upper-left corner of the Qrvey Composer user interface.
Connections
A connection is the link established between Qrvey and your external data source, such as the following:
- Database
- Data warehouse
- CSV or JSON files
- Cloud storage service like AWS S3
- Incoming data from REST APIs
- Other system that stores data
Connections allow Qrvey to access and retrieve data from these external sources, establishing a secure and reliable pathway for data retrieval and integration into Qrvey.
Datasets
Datasets include data from one or more connections. The transformation process cleans, filters, aggregates, and joins data to ensure it is ready for analysis. When the dataset is created, it is stored within Qrvey's infrastructure. The dataset provides a structured and optimized collection of data for creating visualizations, reports, and dashboards.
Create an Application
-
Open the Applications page.
-
Select Create Application in the upper-left corner to open a modal.
-
Provide a Name and Description, then select Next.
-
Select Datasets. Your application is created.
-
Import data into your application.
Send an Application

To send an application to another Qrvey user:
- Open the Applications page.
- Find the application you want to send and select its options (three-dot) menu, then select Send.
- Select the email address of the target Qrvey user. The recipient needs an active Qrvey account on the same instance.
- (Optional) Modify the application's name and description.
- Select Send. Sending can take several minutes based on the application's size. A successful operation generates a confirmation message.
Share an Application
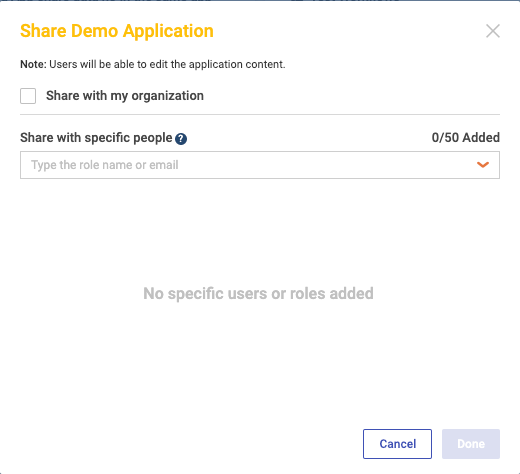
By default, access to the applications you create in Qrvey Composer is restricted to your user account.
- Open the Applications page.
- Select the options (three-dot) menu for an application and then select Share to open the Share Application modal.
- Select a sharing option.
- Share with my organization — Shares with all users in your organization.
- Select specific users and roles (ensure Share with my organization is disabled).
- Select Done to share and exit.
Delete an Application
To delete an application:
- Open the Applications page.
- Select the options (three-dot) menu for an application and then select Delete.
- Select Delete to confirm.
Receive an Application

To install an application:
-
In the application dashboard, locate a notification number on the Received tab.
-
Select the application name to review its details and then select Install.
Installation time depends on the application size. When installation completes, a green notification confirms the application is ready.
Application Settings
Use this module to configure the name, description, icon, and color scheme for a Qrvey application.

- Name — Select to edit the name and description of the application.
- Icon — Upload an application icon.
- Primary Color — Select the primary color for your toolbar and navigation elements.