End User Personalization in Dashboards
As a Qrvey developer, you can enable End User Personalization for your business users, allowing each user account to store preferences, settings, and interaction history.
Note: This End User Personalization experience is available for Qrvey v9.2 LTS and up. For information about the legacy dashboard experience, see End User Personalization (Legacy).
Overview
End-user personalization involves customizing a dashboard and its interactive features to match individual user preferences. Qrvey's personalization object stores information about the user’s interactions, settings, and choices.
The dashboard includes an End User Personalization system that enables authenticated users to customize dashboards according to their preferences without impacting the original content for others. As a Qrvey developer, you can enable users to perform the following tasks:
- Customize the dashboard layout.
- Add or remove dashboard and panel filters.
- Customize chart types and settings.
- Perform dashboard actions on charts.
- Use Undo and Redo to revert recent changes.
- Save updates as a personalized version of the dashboard.
- Restore the original dashboard on demand.
- Manage hidden items.
Enable End User Personalization
-
Set up widget authentication.
End User Personalization is only available to authenticated users. Verify the proper authentication for your integration user (a
qvTokenis recommended for production). -
Embed the dashboard widget.
a. Publish your dashboard.
b. Embed the widget. For more information, see the Widget Embedding Quick Start tutorial.
-
Enable the appropriate end-user personalization features in your dashboard widget configuration. For more information, see Setting Dashboard Widget Defaults.
Interaction Mode
When designing a dashboard in Composer, use the Interact view to validate features from an end user’s perspective before republishing.
Note: Before you can switch to Interaction mode from Design mode for a dashboard, you must first publish the dashboard.
By default, dashboards are embedded in Interaction mode. The toolbar displays the highlighted Source Dashboard pill.

After making a change, the Save Changes and Discard Changes buttons are enabled. You can save a personalized version of the dashboard with your modifications.

After saving your changes, the toolbar updates to display a Personalized Version pill for your dashboard.

Use the Get Personalized Version / Get Source Dashboard toggle to change the displayed dashboard.
Note: After saving a personalized dashboard, Interaction mode displays your personalized version as the new default.
When the source dashboard’s owner publishes the new changes and elects to overwrite the personalized version, the action removes the existing personalized version.
If end users are working on the embedded version of a dashboard, they receive a notification when the source dashboard’s owner publishes changes.
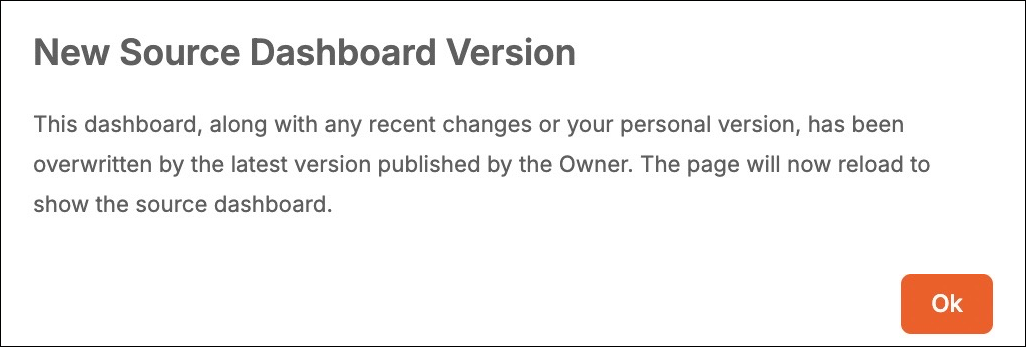
The prompt redirects the end user to the original dashboard containing the updates.
Note: When it is not desirable for end users to access the toolbar, developers can use the customization object to hide individual options or the entire toolbar. For more information, see Customization Views.
Personalize Page Layout in Interaction Mode
When working in Interaction mode, you can use the Change Layout toggle to enable personalization. When enabled, the dashboard toolbar displays the drag handle for dashboard elements and, when applicable, the Hidden Items button.
Go to Dashboard Action
When using a Go to Dashboard Action in Interaction Mode, the following functionality applies:
- Even when End User Personalization is applied to the source dashboard, it is not applied to the target dashboard when the Go to Dashboard action is used.
- Filters passed from the source dashboard through the Go to Dashboard action are displayed in view-only mode on the target dashboard and cannot be modified.
Personalize Your Dashboard
Charts
You can apply the following personalization features to charts.
- Change the chart type, sorting, or column settings.
- Apply different filters directly to the chart panel.
- Download individual charts in various formats.
Note: To enable Scheduling and Subscriptions in the widget, your JWT needs to include an email property with a valid email address.
Filters
You can apply the following personalization features to filters.
- Add or modify filters using the filter panel.
- Filters are saved to your personalized version and apply only to your analytics.
Containers
You can apply the following personalization features to containers.
- Personalize containers that hold multiple elements by rearranging them on the dashboard.
- Adjust the positions of individual elements within each container.
- Remove elements from the container.
View Downloads
In Interaction and Design mode, the toolbar contains a component that allows the user to view a list of local dashboard downloads (exports) that have taken place in the last 24 hours. Users can view real-time updates to the progress of a specific download.

Download Dashboard Versions
In Interaction mode, users can download (export) the latest saved version of a dashboard or in its current state without having to first save personalizations.
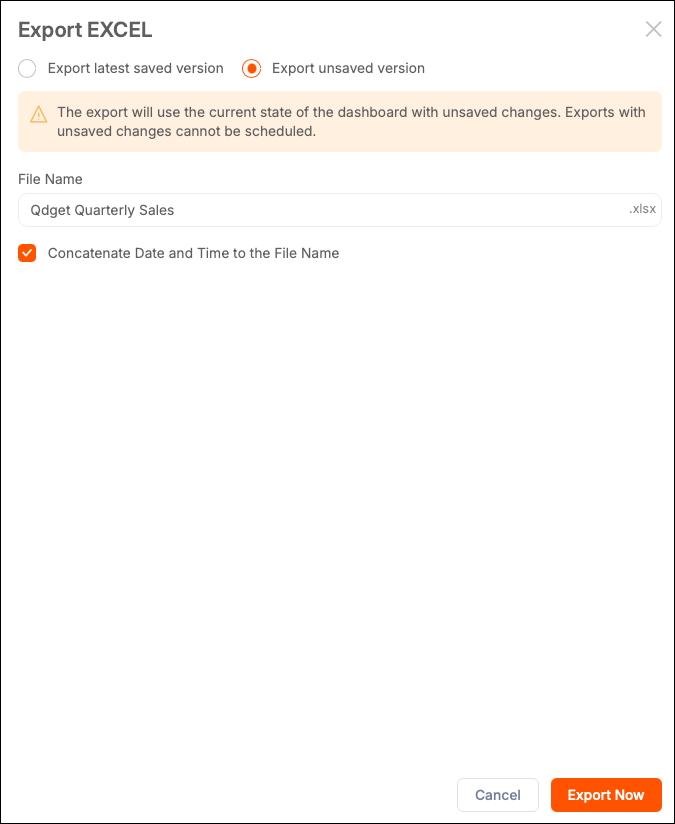
You cannot schedule exports with unsaved changes.
Remove Elements from the Dashboard
When you remove an element from a personalized dashboard, the element is added to the Hidden Elements list which can be accessed from the toolbar. From the list, you can restore elements to the dashboard or remove them permanently.
The dashboard toolbar's Hidden Items feature tracks elements removed from the dashboard in your personalized version. If your personalized version is overwritten by a new one, the Hidden Items list is deleted.
Design Mode
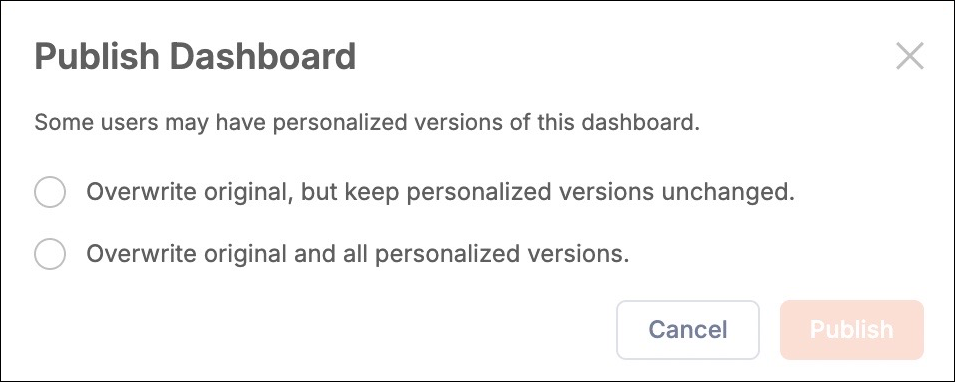
To modify the source dashboard, switch to Design Mode. If a personalized version already exists, you are prompted to choose how to proceed:
-
Overwrite Original and Keep Personalized – updates the source dashboard while preserving the personalized version.
-
Overwrite Original and Delete Personalized – updates the source dashboard and removes the existing personalized version.
Switch Between Interact and Design Modes
When designing a dashboard in Composer, use the Interact view to experience the interactive features from an end user’s perspective before publishing.
- Switching between Design and Interaction modes behaves the same in both Composer and embedded scenarios.
- Switching to Interaction mode from Design mode is only available after the dashboard has been published.
- Switching to Design mode from Interaction mode is always available.
- The toggle for switching between the two modes can be shown or hidden through customization. For more information, see Customization Views.